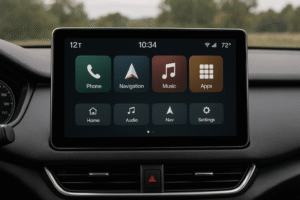
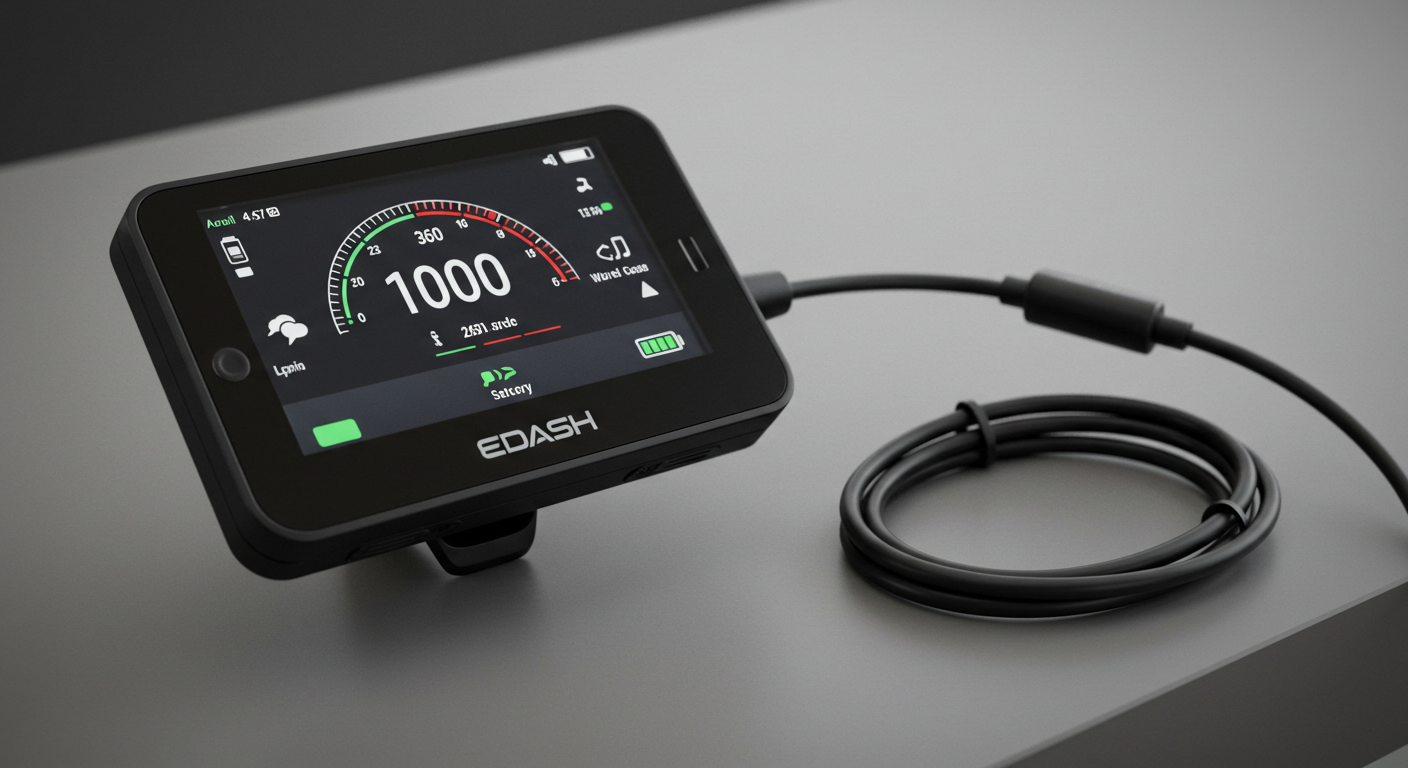
E-bike dashboards rely on connectors like the Mini B display connector to ensure seamless communication between the controller, display, and sensors. These connectors are responsible for transferring power and data, making them essential for proper system functionality.
Users often encounter challenges with Mini B connectors, such as identifying compatible parts, locating reliable documentation, and troubleshooting wiring problems. Addressing these concerns requires a clear understanding of the pin layout, wiring standards, and testing methods.
What Is a Mini B Display Connector and Why Is It Important?
A Mini B display connector is a compact interface for e-bike dashboards. It connects displays, sensors, and controllers for efficient communication. Its 5-pin configuration supports data transfer and power delivery.
In e-bikes, the Mini B connector ensures the display gets accurate data from the controller. It allows real-time updates on speed and battery levels, enhancing rider experience. Incorrect wiring can lead to malfunctions and reduced safety.
How Does Accurate Wiring Ensure Performance and Safety?
The Mini B connector’s pin configuration usually follows a standard layout: two pins for power (VCC and GND), two for data (D+ and D-), and one for ground shielding. For instance, incorrect grounding can cause signal interference, resulting in delayed or inaccurate data readings on the dashboard. Such discrepancies could mislead riders, increasing the risk of accidents.
Are There Different Types of Mini B Connectors?
While the Mini B connector is standardized, variations exist, such as Mini USB B 2.0 and Mini USB B 3.0. These differ in data transfer speeds and power delivery capacities. For e-bikes, the most common choice is Mini USB B 2.0 due to its compatibility with standard dashboard systems and sufficient performance for real-time data processing(What Is the Difference Between USB Mini-A and Mini-B Connectors?).
Detailed Pinout Diagram for eDash Mini B Display Connector
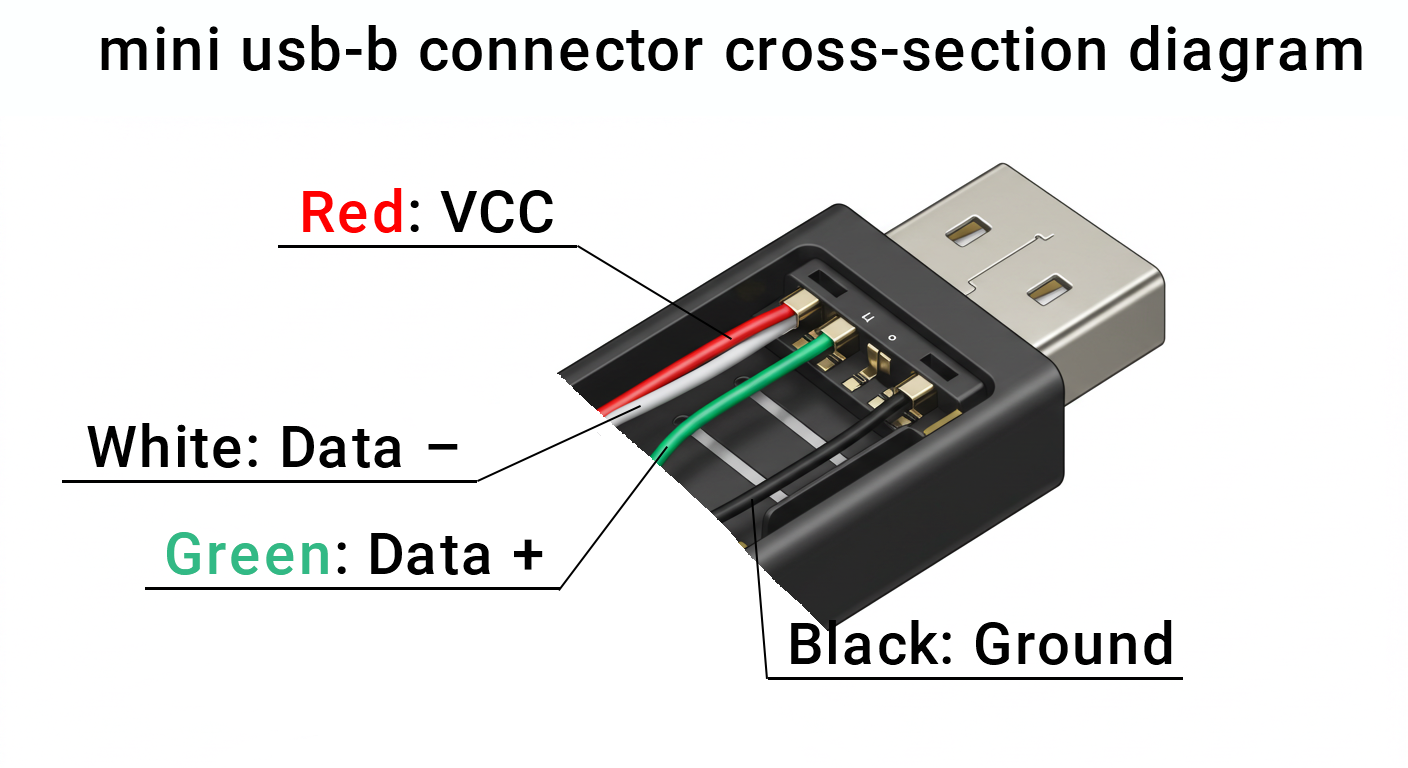
A Mini B display connector typically has a 5-pin layout, with each pin designated for specific functions such as power and data transfer. Below is the standard configuration for an eDash Mini B display connector:
| Pin | Function | Wiring Color Code |
|---|---|---|
| 1 | VCC (Power) | Red |
| 2 | Data – (D-) | White |
| 3 | Data + (D+) | Green |
| 4 | Not Connected (NC) | N/A |
| 5 | Ground (GND) | Black |
Correct wiring ensures that the dashboard display functions as expected. Miswiring can lead to power issues or data loss, potentially damaging the e-bike’s electronics.
How to Use a Multimeter to Verify Connections?
To verify connections:
- Set the multimeter to the continuity mode.
- Touch the probes to the corresponding pins and their endpoints (e.g., controller terminals).
- If the multimeter beeps, the connection is intact. For instance, ensure that Pin 1 (VCC) properly connects to the red wire without shorting to adjacent pins.
This method helps detect issues like open circuits or incorrect pin assignments, ensuring the system operates safely and reliably.
Common Issues With eDash Mini B Connectors and Their Solutions
Connector Compatibility
Choosing the right Mini B connector is crucial for e-bike functionality. Incompatible connectors may result in poor data transfer or power delivery. To identify compatible connectors, check the e-bike’s model specifications and the connector’s pin layout. Ensure the pin configuration matches the controller’s requirements, such as Mini USB B 2.0 or specific custom layouts.
Tips for Aftermarket Parts:
- Verify the wiring diagram of both the e-bike and the new connector.
- Use adapters if direct compatibility is unavailable but avoid makeshift solutions that could compromise safety.
Electrical Failures
Faulty connections often lead to a non-responsive dashboard or intermittent data loss. Common symptoms include:
- Blank screens or flickering displays.
- Incorrect or fluctuating speed and battery readings.
Troubleshooting Guide:
- Inspect the connector for physical damage, like bent pins or loose wires.
- Use a multimeter to check for continuity in the wiring.
- Replace damaged connectors or wires to restore functionality.
Limited Documentation
Many e-bikes lack detailed connector documentation, making troubleshooting challenging. Community forums are excellent resources for model-specific diagrams. Enthusiasts often share wiring configurations and tips for hard-to-find details.
How to Customize and Upgrade Your eBike Using Mini B Connectors?
Mini B connectors open up opportunities for DIY e-bike upgrades, enhancing performance and functionality. By modifying wiring or installing advanced components, you can tailor your e-bike to better suit your riding needs. Common upgrades include connecting advanced displays, integrating additional sensors, or adding external accessories like USB chargers.
Future Trends in eBike Connector Technology
Emerging Alternatives to Mini B Connectors
As e-bike technology evolves, new connector types are emerging to meet higher performance and durability demands. One key trend is the move toward connectors with greater data transfer speeds, improved power efficiency, and enhanced weather resistance. Magnetic connectors offer seamless connections and self-aligning features, reducing wear and tear caused by repeated plugging and unplugging.
USB-C Adoption in Modern e-Bike Systems
USB-C connectors are becoming a preferred choice for modern e-bike systems. Unlike Mini B connectors, USB-C supports(Benefits of USB-C connectors for e-bikes):
- Higher Power Delivery: Capable of charging multiple components simultaneously, such as displays and mobile devices.
- Faster Data Transfer: Ideal for advanced dashboards requiring real-time data synchronization.
- Reversibility: Simplifies connectivity for users by eliminating orientation issues.
Conclusion
The Mini B display connector is a key element in e-bike systems, ensuring reliable communication and functionality. Understanding its pinout, resolving common issues, and exploring future trends can help users enhance their e-bike’s efficiency and adaptability.
FAQ
How do I identify the pinout for my e-bike’s dashboard connector?
Check the user manual or wiring diagram provided by the e-bike manufacturer. If unavailable, use a multimeter to trace each pin’s function based on power and data lines.
What is the difference between USB Mini-A and Mini-B connectors?
Mini-A connectors are less common and typically used for host devices, while Mini-B connectors are designed for peripherals like e-bike dashboards, supporting data and power transfer.
How can I troubleshoot connectivity issues with a Mini B connector?
Inspect the connector for physical damage and ensure proper pin alignment. Use a multimeter to test for continuity and verify that each wire matches its corresponding function.
Is it safe to modify e-bike wiring with a DIY approach?
Yes, if proper precautions are taken, such as disconnecting the battery, using insulated tools, and following wiring diagrams. Ensure all modifications are tested with a multimeter before powering the system.